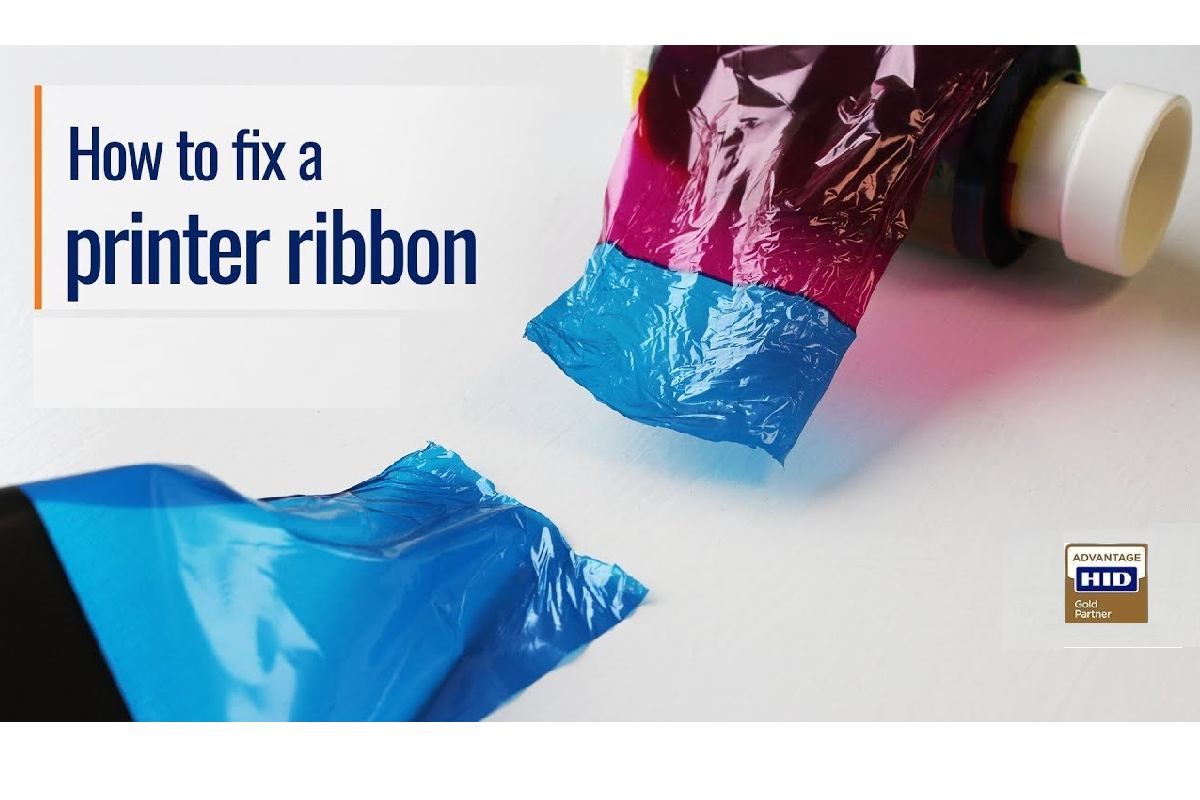
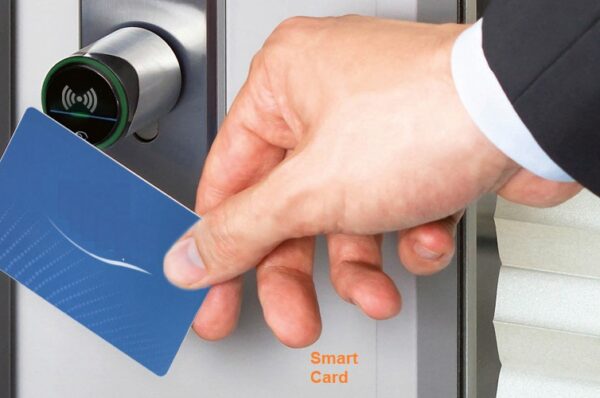
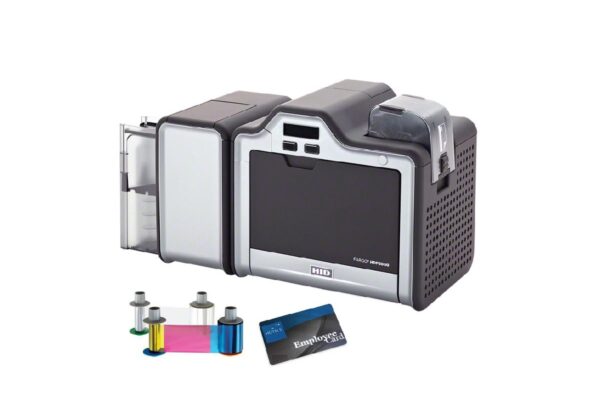
Fixing an ID card ribbon often involves replacing it with a new one. If you’re experiencing issues with your ribbon, such as low ink levels or print quality problems, it’s likely time to replace it.
How to fix ribbon out error?
Here are some general steps to replace an ID card ribbon:
- Turn off and unplug your printer: Please confirm that the printer is turned off and unplugged from the electrical outlet.
- Open the ribbon compartment: Locate and open the compartment where the ribbon is inserted.
- Remove the old ribbon: Gently detach the spent ribbon from the printer.
- Insert the new ribbon: Insert the new ribbon into the specified slot, making certain that it is correctly aligned.
- Close the compartment: Ensure that the ribbon compartment is securely closed.
- Power on the printer: Reactivate the printer and verify the functionality of the new ribbon by producing a sample card.
On continue to experience issues after replacing the ribbon, it may be a sign of other problems, such as:
- Printhead issues: The printhead may need cleaning or replacement.
- Card path problems: Check for any obstructions or debris in the card path.
- Software issues: Verify that your printer drivers and software are current.


